Resin Geode Art Tutorial and Process Video
Resin Geode Art Process Video
Link to watch Resin Geode Art Tutorial on YouTube: Large Resin Geode Wall Art
Resin Geode Art Inspiration
I vividly remember watching a Facebook video of Mrs. Colorberry creating a fantastic resin geode art piece. She was actually my inspiration to start working with epoxy resin. Colorberry, a quirky fireball of an artist, is incredibly talented and I was not sure I would be able to ever make anything as beautiful as her work. Working hard learning different techniques and, most importantly, finding my own techniques for making resin geode wall art has led me to where I am today.
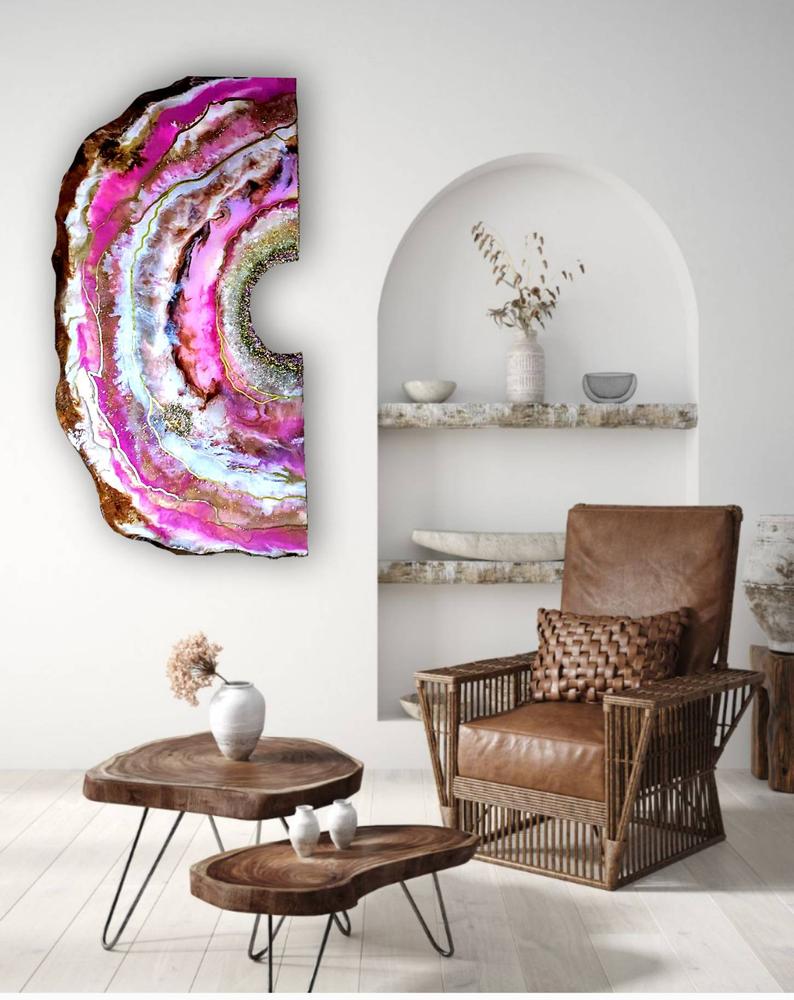
I have sold the piece in this video and I can not explain how happy I feel that this resin geode art piece is making a complete stranger smile every time they walk by it hanging on their wall. That was my goal when I set out to learn resin art, and this piece was one of the first sales I made, bringing me one step closer to realization. I am proud to have committed to making resin art pieces I am proud of.
As you can see on my YouTube channel, I started with small resin art pieces, so this larger size geode challenged me. I am very happy with the results. Hopefully this tutorial answers any questions you may have about creating your own resin geode wall art.
If you would like a custom resin geode wall art piece made for your home, please email CraftelotResinCo@gmail.com or send us a message on our Contact Us page. I work very closely with clients ordering custom pieces so I can ensure each color used is perfect and that the client ends up with the piece they envisioned. A resin Geode Art piece they absolutely LOVE.
Resin Geode Art Materials
How to Make Resin Geode Art
Step One: Resin Geode Art Canvas Preparation
Cutting your Resin Geoide Art Canvas to Size
I use an MDF board as my canvas. However, Birchwood also works as a canvas for this project.
If you do not want to deal with shipping a large piece of wood to your home, I suggest visiting your local Home Depot or Lowe’s store. Both of these stores will have MDF or Birchwood panels in stock. Sometimes, there is a scrap wood section where you can find a pre-cut piece of board that will work well as a canvas.
If there is no such section at your local store, or you want a different size than is available, ask an employee to cut a piece for you from the big palettes. The service is free of charge at both Home Depot and Lowe’s.
Next, you must decide what size you want to make your resin geode art piece. I use an irregularly, half-mooned, shaped canvas, to mimic a real geode. However, you can make a beautiful resin geode art piece on a square canvas as well.
If you decide on an irregular shape, use a pencil to trace a rough outline on your board. Next, use a jigsaw (with the appropriate blades for the wood you are using) to cut along your pencil line. Once you have cut, you are ready to move on to preparing the surface of your resin geode art canvas.
Applying the Base Coat to You Resin Geode Art Canvas
Use a Gesso paint or a paint/primer combination (typical house paint) to paint the entire surface of your geode canvas. Do not forget to paint the sides!
Let dry, and add a second layer.
Let the second layer dry, then move on to the next step, Adding Embellishments.
Step Two: Adding Embellishments to your Resin Geode Art
Add embellishments to your resin geode art piece. Natural geodes tend to have crystals in the center, so this is where I like to put most of the crystal embellishments. Placement is up to you, but here are some options for products that work great for resin geode art embellishments:
Once you have laid your embellishments onto the canvas where you would like them, mix up a batch of epoxy resin, and coat the embellished part of your canvas with a layer of clear epoxy resin. Let this cure overnight and then move onto the next step.
Step Three: Mix Color Mediums and Apply to Canvas
Mix your resin according to the directions on the bottle you are using. Be sure to mix up enough epoxy resin to cover your canvas.
Mix the pigments you have selected into your epoxy resin. (Remember, a little goes a long way when working with epoxy and pigments.)
HOT TIP: Using different mediums, such as alcohol inks, paints, and pigment powders, creates amazing effects. The difference in weight of each pigment causes some to sink and others to float. Using this strategy is a great way to achieve breathtaking effects in your piece.
As you can see in the video, after mixing your color mediums into your epoxy resin, pour your colored resin onto your canvas in whatever order you think looks best.
BEGINNER’S NOTE: If you are working with a big canvas, it is smart to pour in sections. Pouring in small sections allows for more time to place the colored resin on the canvas before it starts to cure.
Let the piece cure and move on to the next step.
Step Four: Apply Lines to Your Geode Resin Art
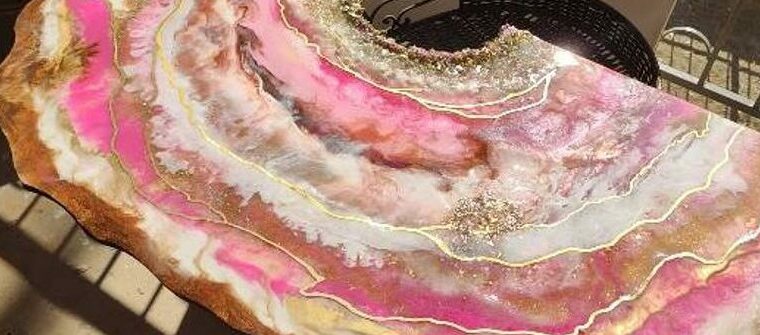
Using a paint marker, usually a metallic gold or silver, trace lines onto your geode resin art. This technique mimics the look of a real geode in nature and adds the perfect finishing touch of detail to a Geode Resin Art Piece. Here is a close up of the lines I added to the piece in the video:
Step Five: Final Flood Coat
If you are happy with the piece, mix up another batch of epoxy resin for your flood coat. Mix up enough to cover the entire surface. Apply the flood coat, let cure, and you have your very own resin geode art piece! Congratulations!
Note: If you are not happy with your piece, add another layer to your geode before adding a flood coat. One of the greatest things about resin art is that you can keep working on a piece until you get it just the way you want it!
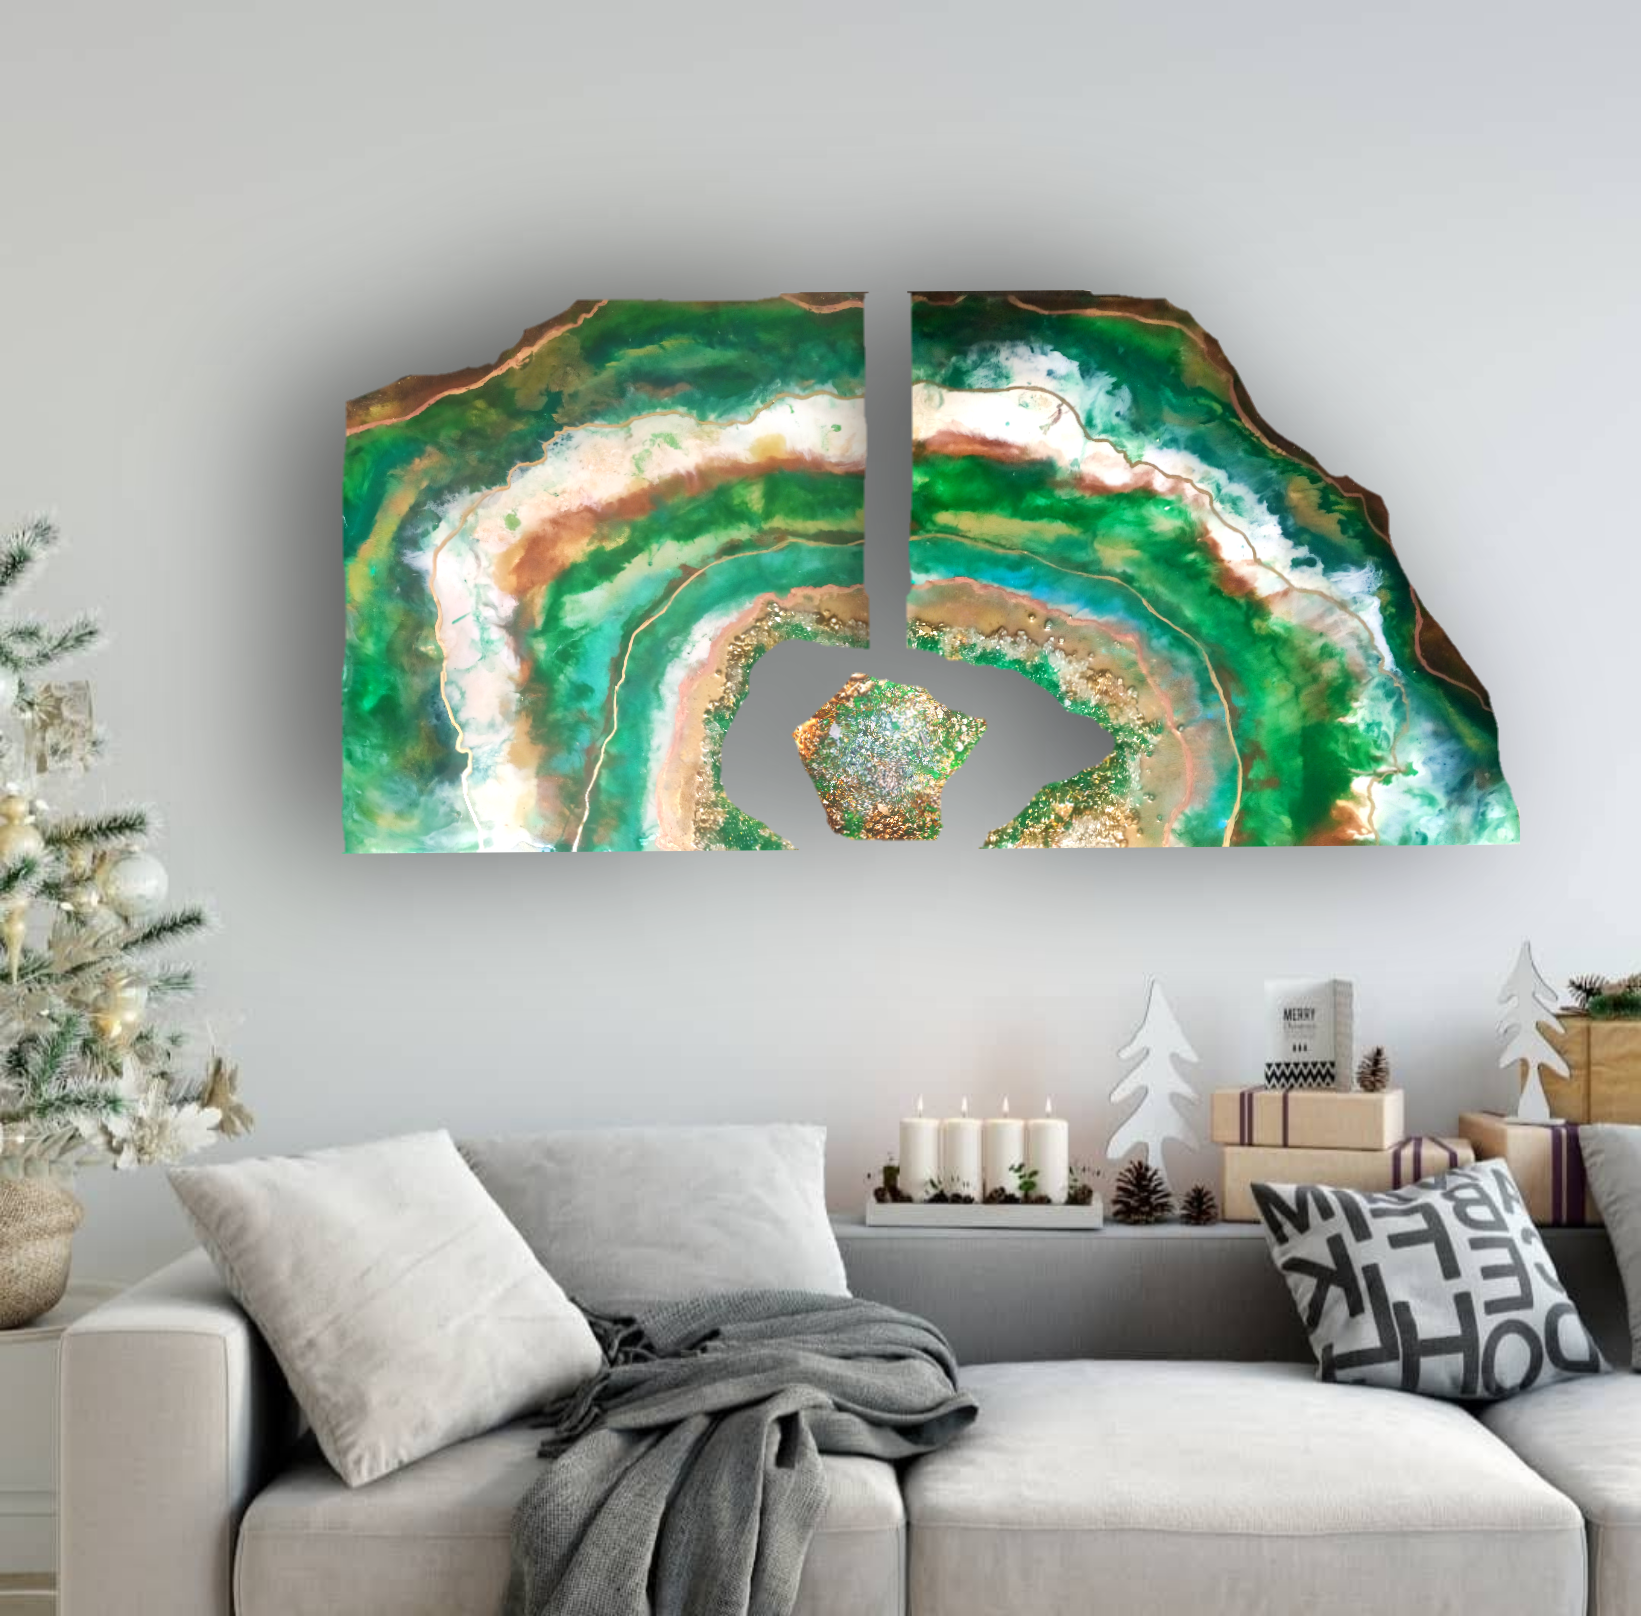
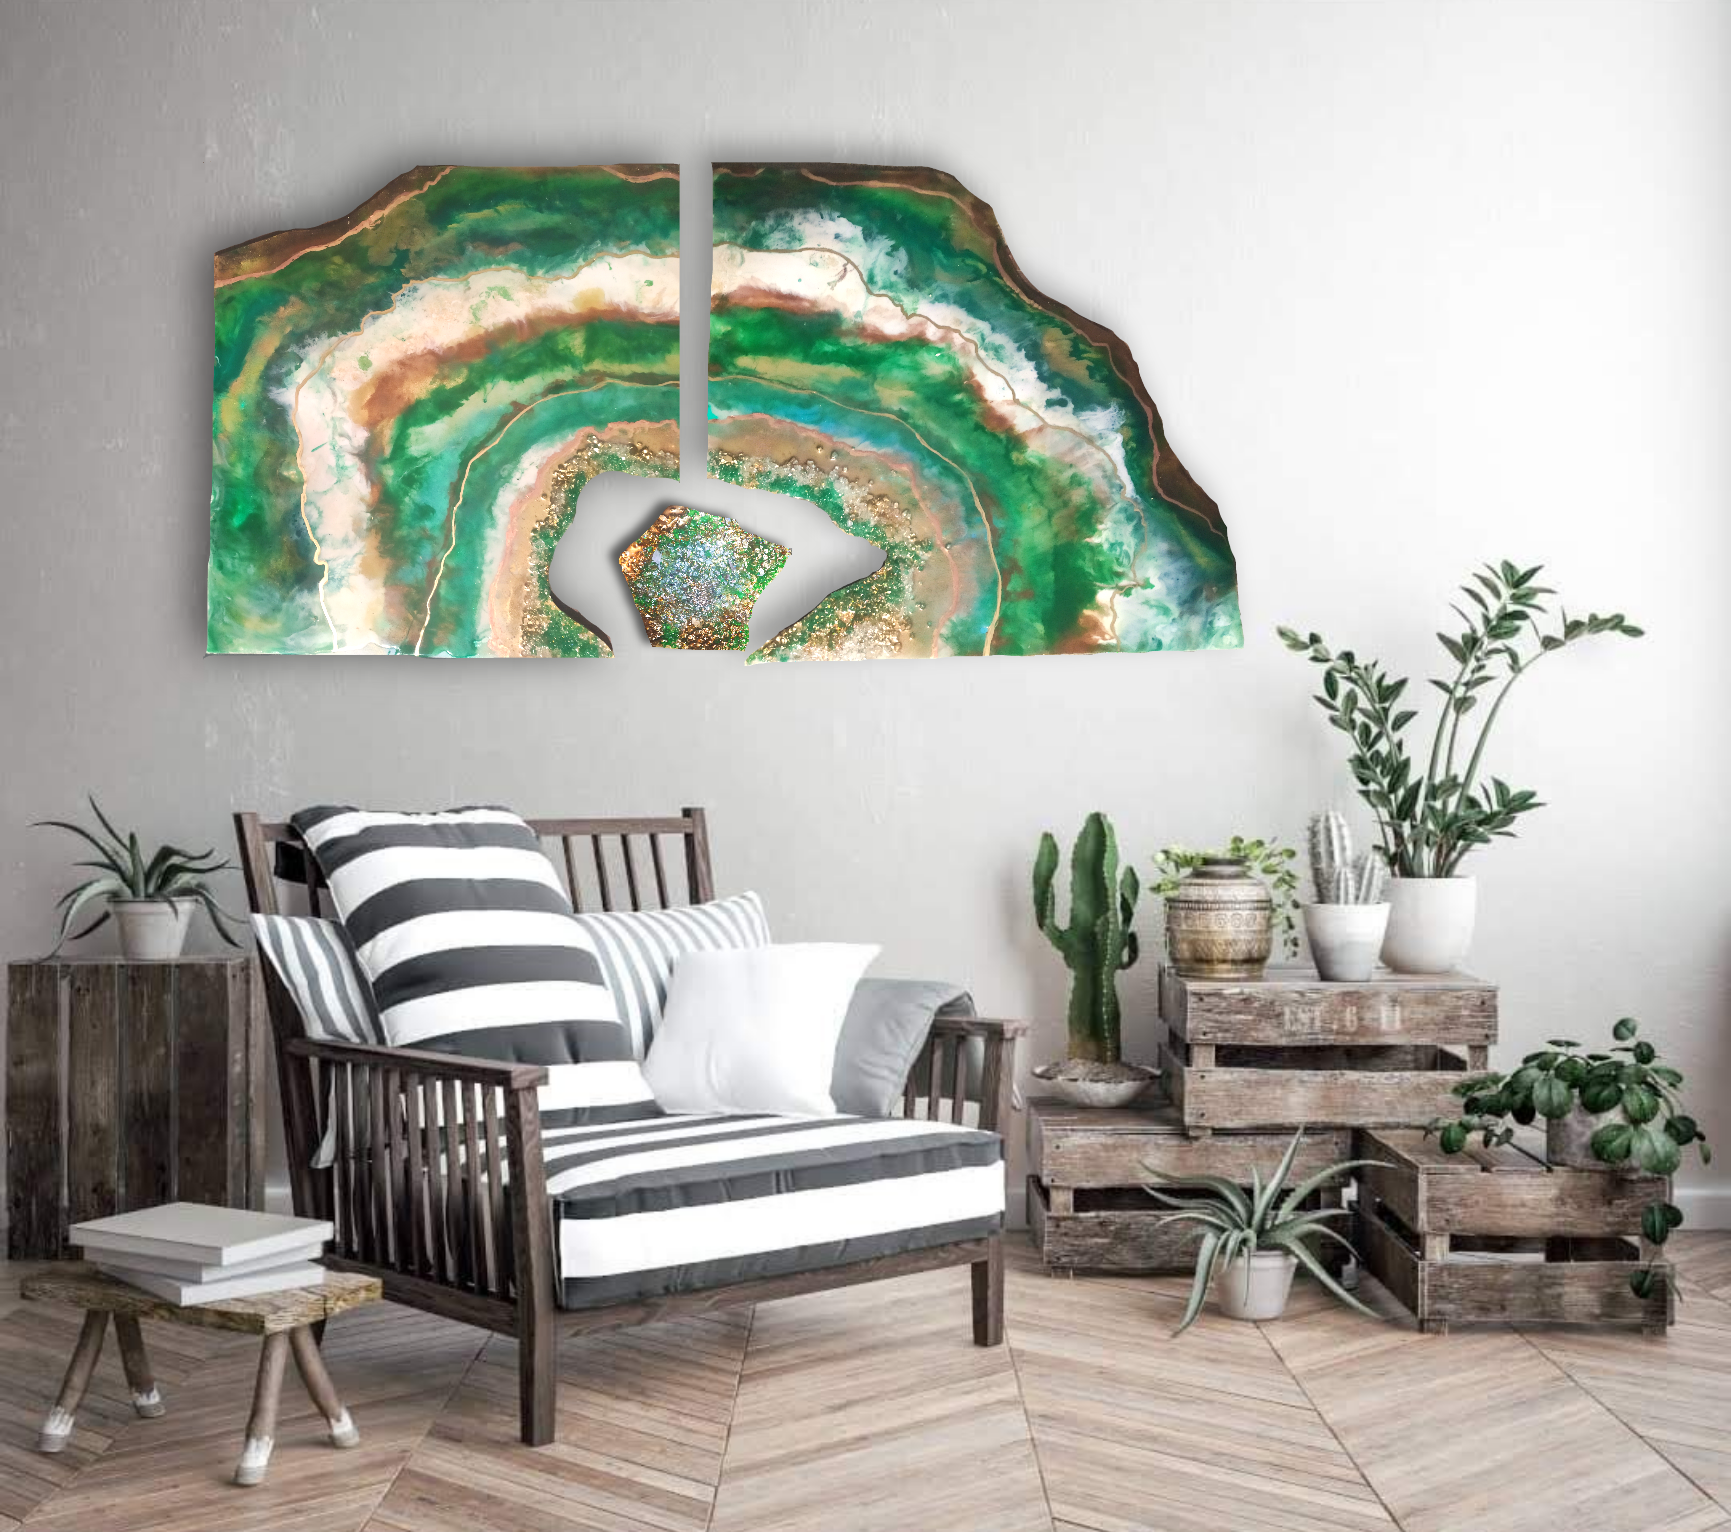
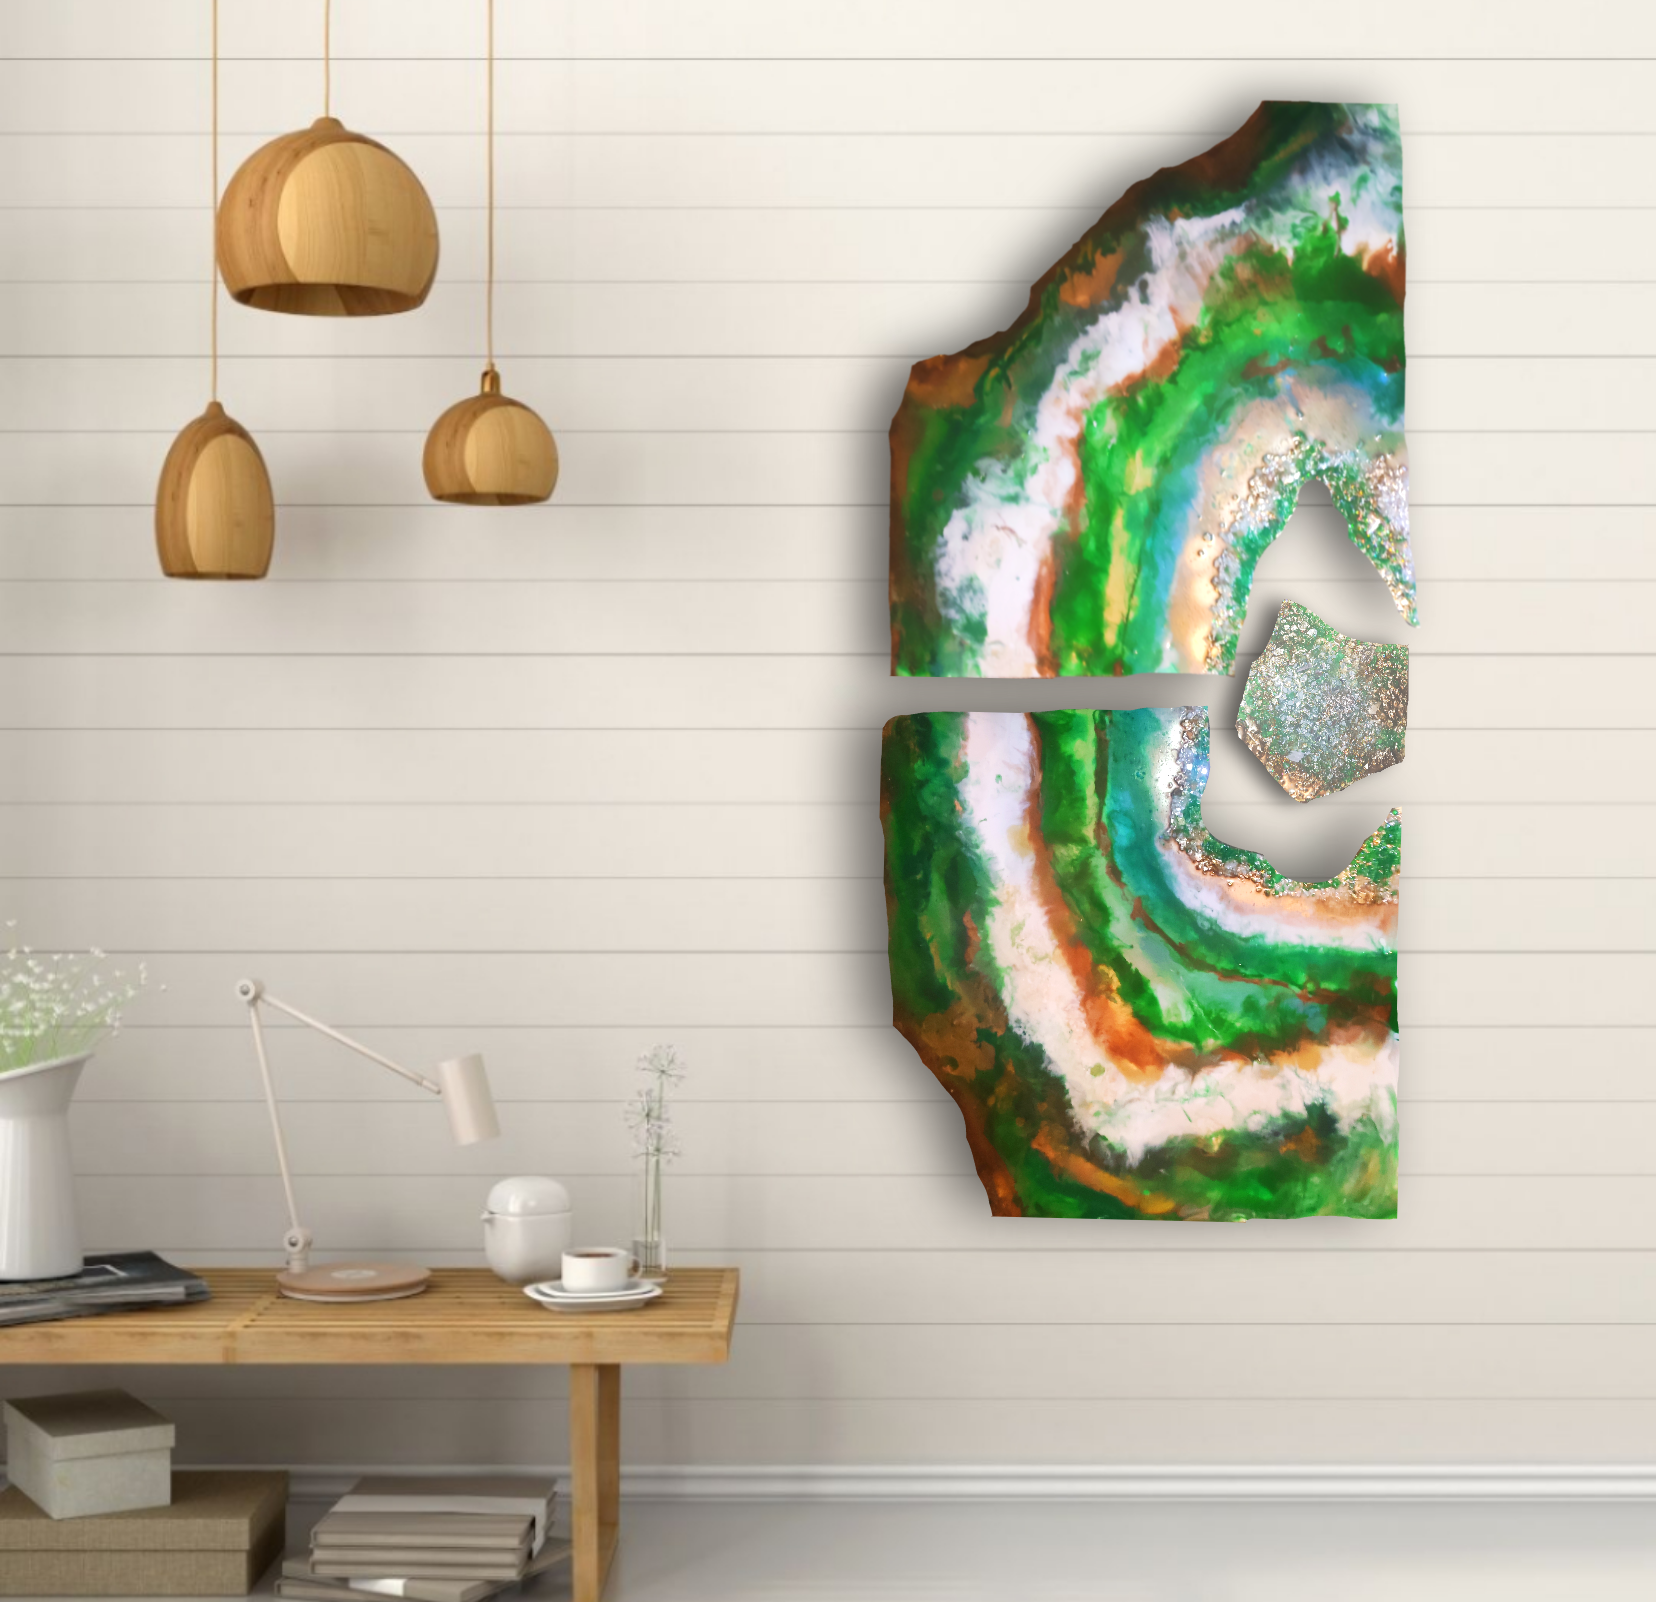
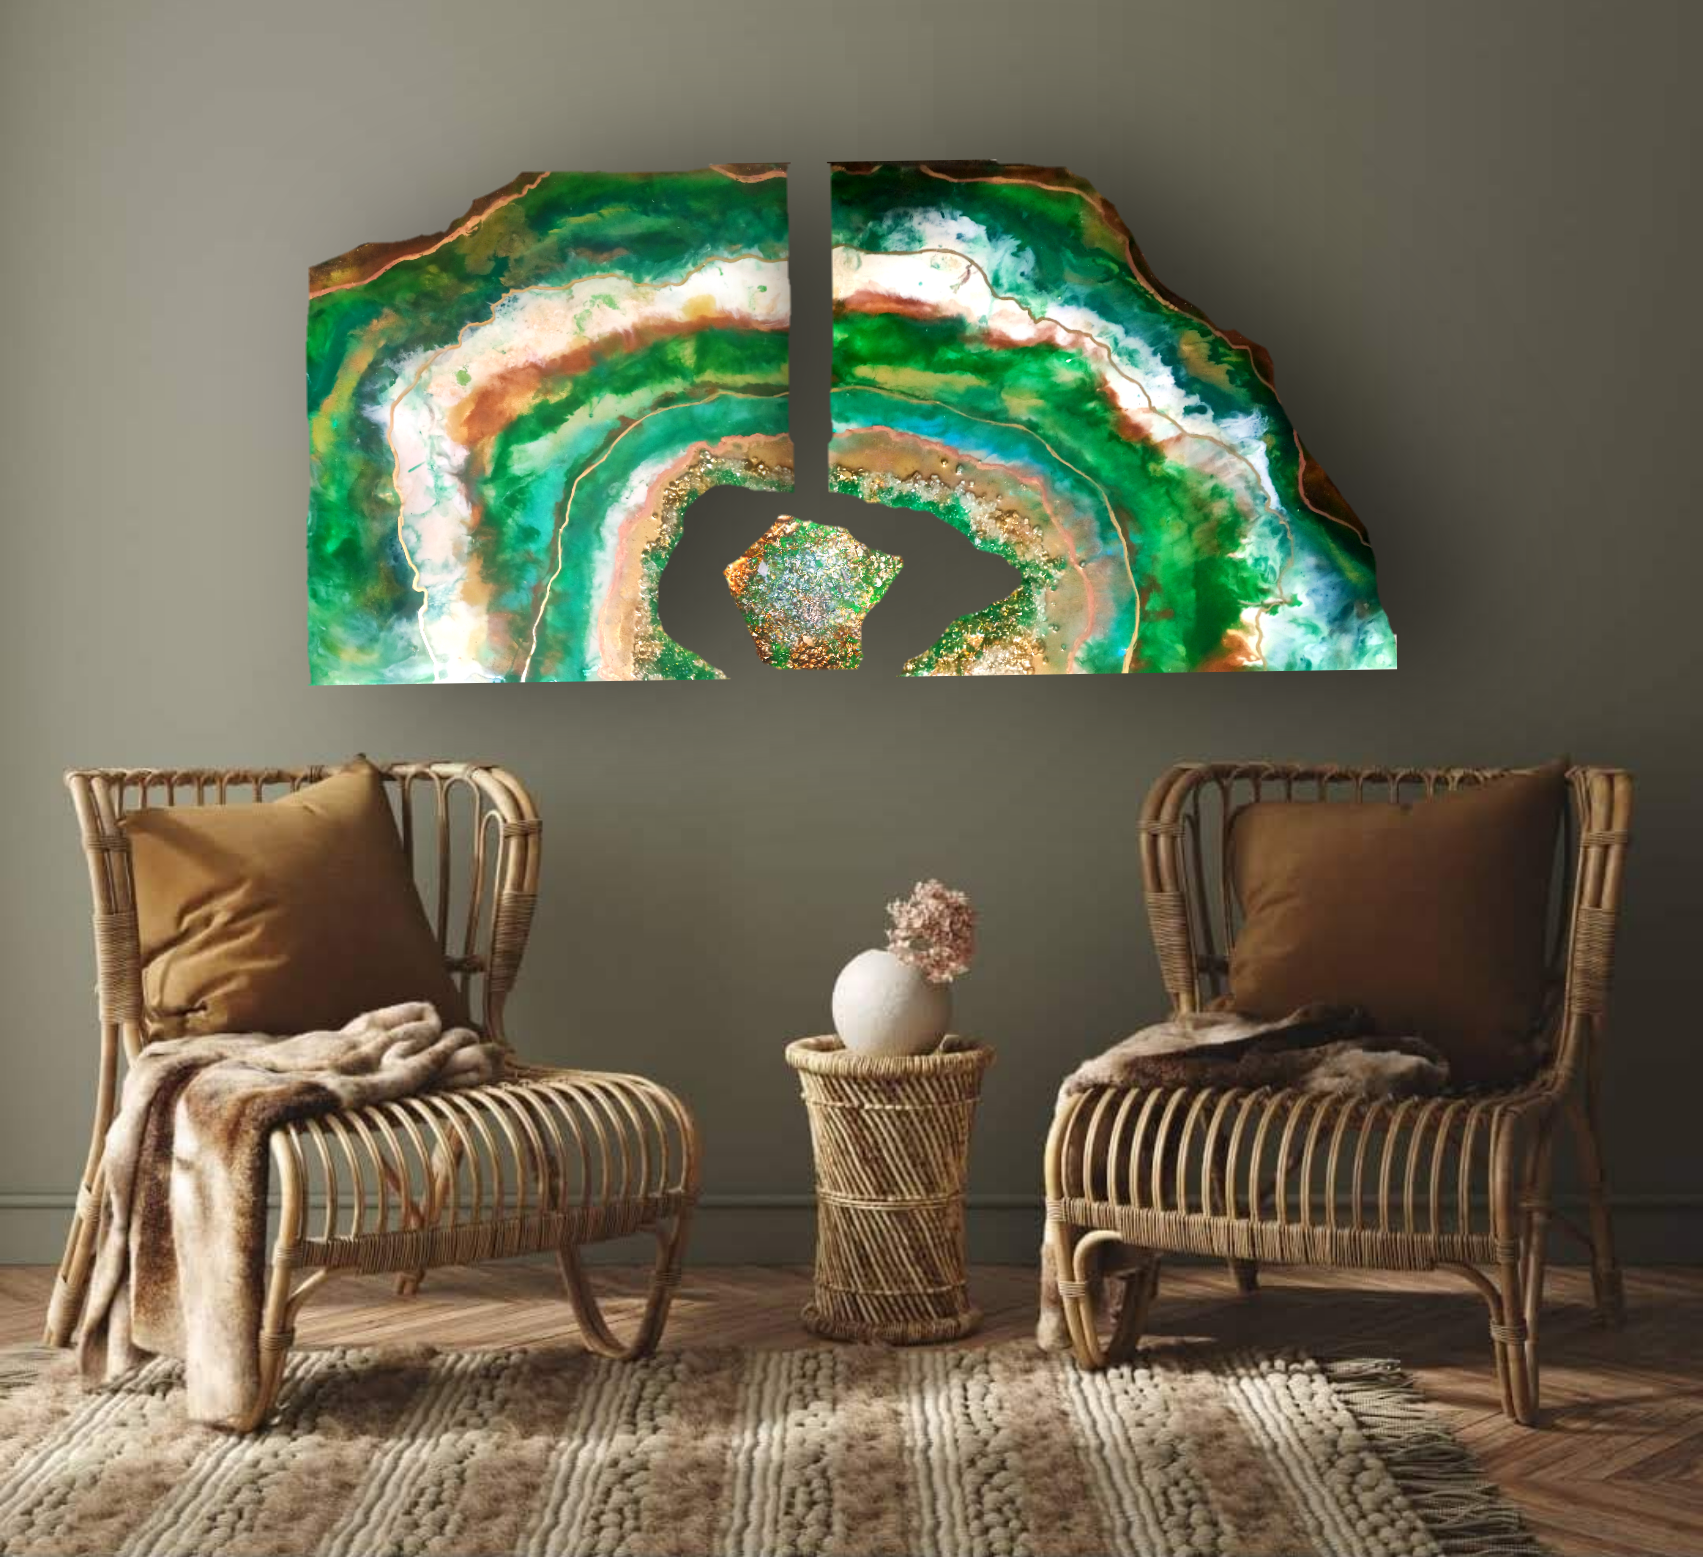
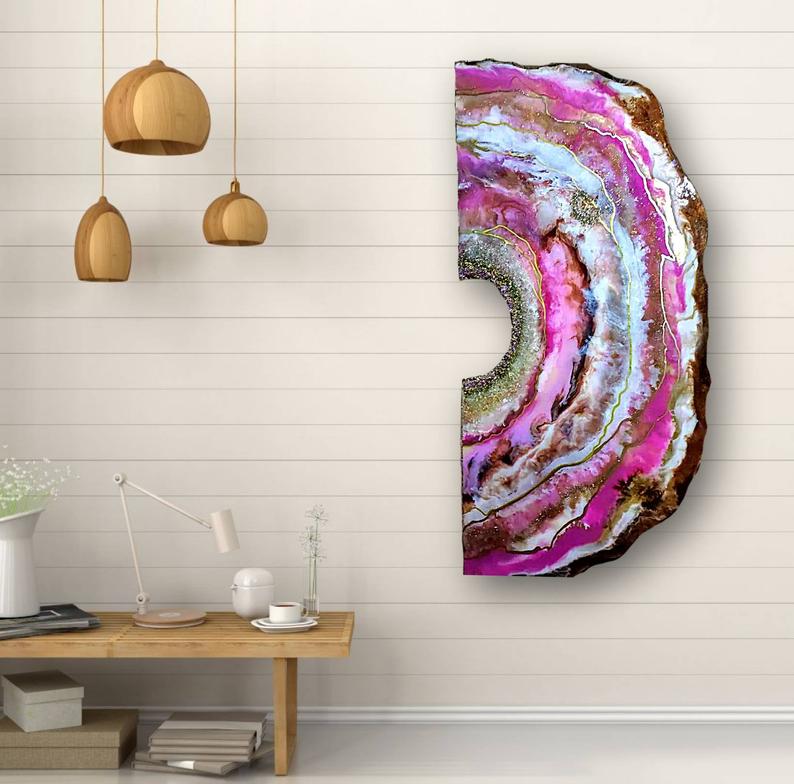
Resin Geode Art On Display
Here are some pictures of my Resin Geode Art pieces on display! I hope you enjoy them. Please comment if you decide to try this yourself. I would love to hear how your piece turns out.
If you are able to donate, I use all proceeds to purchase supplies for video projects: paypal.me/xoashy

31 Responses
This has been quite an intriguing article to read here. I have to say that I'm usually up to my eyes in everything else to actually get into arts and crafts although I have no shortage of imagination.
But when I read articles like this, I actually find them quite inspiring and feel like getting into making thanks.
So thanks for sharing with us all. Also, I will be checking out your resin art shop to purchase some of your artwork.
It is absolutely stunning.
Karalyne.
Great Karalyne! Hope to hear from you soon!
Wow, I have to say that I have a very dreamy feeling when seeing your resin geode art. The colors are so surreal and hypnotizing. Thanks for showing me how to make my own resin geode wall art. As someone that likes to collect minerals and hike through caves, I would love to make art based on the many geodes I've seen throughout my life. So the materials required to make this aren't super expensive right? Just want to make sure I can fit this into my budget :).
Hello Gabriel, I love that you collect minerals and stuff like that. I would love to do something like that one day. That would give you great inspiration for sure! If interested, check out Budget Resin Coasters: For A Frugal Crafter. Many of the products I recommend in that tutorial can also be used to make resin geodes. Hope this helps!
Thank you for very interesting article. I had no idea that its possible to create something so stunning like geode in home. And the list of materials is really short and easy to get. With your step by step guidance it should be relatively easy exercise, and Im sure will have lot of fun with my kids doing it !
Absolailtyely, if you are doing it with your kids, I recommend trying a project like Budget Resin Coasters: For A Frugal Crafter for your first project. Or you could get a few small boards and make mini geodes using the same materials listed in this article. It can be quite messy and the resin has a limited working time so, depending on how old (or patient) your kids are, you may want to start on a smaller scale. Stay tuned for an upcoming geode tutorial, if you want to watch another one. I'll be releasing it within the week.
I think you have a great site on these beautiful arts. I'll be frank, I don't know much about art, but I like to blog as it provides a good video on how to make the art work. It is really impressive of how much innovation you can make and the types of material used for this art. As you have also mentioned in the blog and show in the picture, there are many ways to display these arts. I always wanted to understand more about art. Do you have suggestions where I can learn more on this?
Absolutely, we have tons of different articles right here on this site. In fact, we also write reviews on the best products to use when creating this type of art. For example, check out Best Silicone Craft Mats for an article on what you can use to protect your resin art workspace. Thanks for stopping by!
Thanks for saring yet another awesome and creative post. Its amazing what you can do wit this isnt it? I'm just wondering, as i currently dont have any need for coasters so i dont need to make them. But do you think you could just use the same sort of method to make anything you want to, within reason of course?
Absolutely, check out the rest of our tutorials for some more great resin art project ideas. Or just come up with your own. Resin is so versatile in that way and that is why we love it!
I love the look of geodes. They are so beautiful, but the bigger ones are sooo expensive. The idea that I could make one of my own, to whatever size and color I like, is interesting.
I have also seen some other beautiful resin art pieces, but I've never had the courage to try it myself. You have definitely given me food for thought.
Thanks so much for putting written instructions on here and not just a video. The link for your video didn't show up for me and the Youtube link didn't work. I'm having trouble accessing Youtube lately for some reason, but because you included written instructions, I was still able to get a lot out of your post. I frequently prefer written over video anyway, but that's just me.
Thanks!
Karen
Karen, I am sorry the video link did not work for you. I will check to make sure the problem is not on our end.
I am glad we were able to provide written instructions for you tho. I like to provide both options because some people are more visual learners and others like to read.
As far as the cost of real geodes goes, you are absolutely right. They can be exorbitantly priced.
The cool thing about resin geodes is that you can actually use real crystals from geodes to embellish the artwork so they really do look quite realistic.
Stay tuned for a new article coming out soon of another geode project we are working on.
Well, I'd just like to say thank you for a very interesting and inspiring article and colourful video. Playing guitar is mmy own art, but its also great to tinker around with anything creatve really. But all too often that creativeness starts and finishes in the mind unfortunately. So its great to get inspiration fro stuff like this., Thanks
I have so much respect for musicians. I know how difficult it is to learn how to play an instrument and you must have a certain sense for sound to be considered talented so that is great that you play! Maybe you can do the score for one of my future videos. We artists need to support each other!
Hi there,
This is just beautiful!
You really inspired me to start making my own resin geode art. I have several questions if you don't mind:)
Can I create any form I want with resin geode art?. Also, I wanted to buy the Apple Barrell Acrylic Paint through your link, but it stays on your page when I click. It doesn't redirect me to Amazon. Oh, my last question. how heavy it becomes once dry?
Thank you for this wonderful tutorial!
Daniella- I am so glad you have decided to make your own resin geode art. I would love to answer your questions!
1. For the geode I made in the video, I used an MDF board for a canvas, and I cut it by hand with a jigsaw. This is just one way of making a canvas for a resin geode, however. It is also possible to make freeform geodes out of resin. In a freeform geode, you do not need a canvas at all. For a tutorial on how to make freeform resin geodes, check out Freeform Resin Geode Art.
2. Thank you for pointing out that my link was not working. I have fixed this so it should be good to go now!
3. A piece made on an MDF board or another type of wooden canvas is obviously going to be heavier than a freeform geode because the wood is heavy. I believe the piece I made in the video ended up weighing close to 20 pounds, but it was a pretty big piece of art, almost 4 feet wide. If you use the correct hardware when hanging, the weight shouldn't be a problem and if you are looking for something lighter, I suggest using the freeform geode method discussed above.
Thanks so much for stopping by and please let me know if you have any more questions!
Although I've worked with resin after reading another article on how to make resin art, this specific technique is very different and unique. I can't wait to try this out. I love how easy your page is to navigate and helped me find all the materials and supplies I needed to get my project going.
Thanks Karan! Hope your project turns out amazing.
Thank you for this content. I've never heard of resin art before up until now.
thank u for the video uploaded.
your story is very inspiring and I would love for you to create me a piece of artwork.
what details do you need ?
your tutorial video was very helpful , however I would like a personal enquiry. This would help alot and broaden my view Nd understanding.
Richie, thank you so much for watching my tutorial! If you are curious to see the types of things I create, check out my Resin Art Shop. You may be able to get some ideas for what you would like for your custom piece. After you check that out, email me at CraftelotResinCo@gmail.com and let me know what kind of custom piece you are thinking of ordering and I will be happy to start working with you. Thanks so much for stopping by and look forward to hearing from you!
I'm a great fan of abstract art, so really enjoyed watching the video. I would have given this a go myself, but am sensitive to synthetic materials...Great video and music.
One little thing though, please increase the font of your posts to at least 14 as your font is tiny making this hard to read...
Other than that, it is a great post and lovely niche you chose to write about.
I hope you sell many more pieces of art.
Thanks Stella! If you are sensitive to products like epoxy resin, it is exteey important to always wear gloves and a respirator. There are some pretty light ones you can buy on Amazon. Here is the one I have: Full Face Respirator
This product is great because it provides full face protection. If you go with a half face respirator, be sure to buy goggles. Also, check out Ecopoxy. They have no odor and use environmentally friendly manufacturing techniques. Stay safe and thanks for watching and visiting.
I really enjoyed watching the video, and how stunning is that work of art, and it doesn't even look that difficult to do.
I love crafting, and this is something that I haven't seen before. I would like to give it a go, and as far as I can see the most complicated thing about it would be mixing the resin. I would love to do a wall mural like this, but was wondering if it can be kept on an outside wall that gets a lot of sun?
Great question. So, different epoxies have different tolerances to the sun (uv rays). Unfortunately, ALL epoxy resins will eventually yellow over time. The difference between brands is the time it will take for the epoxy to start yellowing. Some brands out there, all the ones I recommend, have strong uv filters, providing high quality protection from the sun and the yellowing that follows. Another method to protect against the sun is to put a clear top coat of spray gloss with uv protection qualities over your final epoxy wall.
alAs far as wall panels, stone coat countertops has released a YouTube video tutorial of their method for making wall panels out of epoxy resin. Here are a couple of the links I recommend checking out: https://youtu.be/WNjsLL37Wto https://youtu.be/e9JcwjdBD9U
Hope this helps!
This is beautiful art. Such a lovely piece you made there. It will completely change the outlook of any wall you hang it. Im sure it will be even more amazing to see it in the live. Its so amazing that you use so many inks, paints and resins. I would love to watch you work. I will subscribe to your Youtube. Thanks
Thanks energy! I wish it was possible to accurately portray the colors and sparkle of this piece over photo or video. Unfortunately, it's a challenge. I do believe the more mediums used, the more interesting effects that are produced in the final piece. Thanks for your subscription and I hope you and your daughter get a chance to do a resin project together! Here is a simple one you could start with:
Wow,
I love art work, it is a show in ingenuity. Find a genuine creative mind is not easy, same way I see writing. Many copy other people's work. But when it comes to art, your creativity must come out. I love the mdf board and it's easy to use collections. Thank you for sharing. I have subscribed to follow your work
Thanks parameter! I am so grateful for your subscription and for you stopping by the site.
Hello there! Thanks for dropping this wonderful piece of work. I’ve gone through the YouTube video and I must say you did a really good job. The geode is not an easy job to recreate so you did an absolutely perfect job. I’m going to subscribe to your YouTube channel now because I want to see more of your works. For now, I’m going to shop for the equipments I need and try recreating one myself. I’ll definitely come back with feedback, thanks a lot.
Yay! I always love when I gain a subscriber who appreciates my process. I can't wait until you get some equipment of your own!! I have linked to quite a few of the mediums I use on both the blog and YouTube video descriptions. Let me know if you have any questions or need any suggestions!